1. What Preparations Are Needed Before Cleaning?
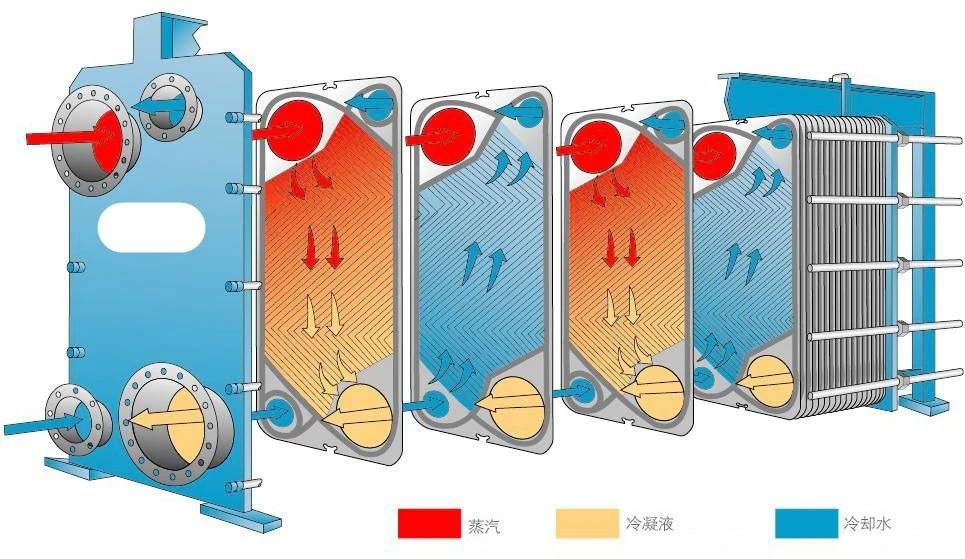
1.1 Shut Down and Isolate the Equipment
Before cleaning, stop the heat exchanger according to the site's operating procedures and isolate the relevant pumps, valves, and other energy sources. Close the inlet and outlet valves to prevent operating fluids from entering the equipment. If electrical, mechanical, or automatic control systems are involved, follow the appropriate lockout/tagout (LOTO) procedures.
1.2 Confirm That the Equipment Is Depressurized and Cooled
Before opening the heat exchanger, ensure that the internal pressure has been completely released and that the equipment has cooled to a safe temperature. Never loosen the tightening bolts or disconnect piping while the equipment is still pressurized or excessively hot. If toxic, corrosive, or flammable media may remain inside, drain, flush, or purge the equipment in accordance with the relevant safety procedures.
1.3 Identify the Type of Fouling
Review the operating records and fluid characteristics to identify the main deposits on the plates, such as scale, oil, corrosion products, or biological fouling. Different contaminants require different cleaning methods and cleaning agents. Before selecting a cleaning procedure, confirm that the cleaning agent is compatible with the plate material, gasket material, and process fluids.
1.4 Prepare the Necessary Tools and Protective Equipment
Prepare the appropriate tools, including torque tools, suitable removal tools, soft brushes, cleaning equipment, and personal protective equipment (PPE). Depending on the hazards associated with the cleaning agents, operators should wear safety goggles, chemical-resistant gloves, protective clothing, and other required PPE. The cleaning area should be well ventilated and equipped with suitable spill-control materials and waste collection facilities.
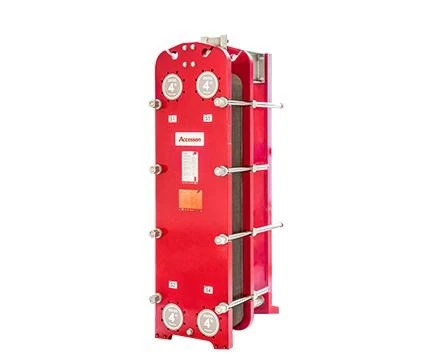
2.1 Record the Original Tightening Dimension
Before disassembly, measure and record the original tightening dimension of the heat exchanger. Check the equipment nameplate, model, and technical documentation provided by the manufacturer. The tightening dimension is an important reference for reassembly, and the correct condition cannot be judged by appearance alone. Always follow the manufacturer's specified requirements for the particular model.
2.2 Loosen the Bolts in the Specified Sequence
Loosen the tightening bolts gradually and evenly according to the manufacturer's recommended sequence. This helps prevent excessive uneven loading on the frame and bolts. Avoid completely loosening all the bolts on one side at once, as this may cause the pressure plate to tilt or place abnormal loads on the bolts. For large equipment, use appropriate lifting and support equipment to prevent components from moving unexpectedly.
2.3 Mark the Plate Arrangement
Before removing the plates, record their sequence, orientation, and gasket positions. Use labels, photographs, or equipment drawings to ensure that the plates can be reinstalled in the correct order. Plate corrugation patterns, flow channel arrangements, and installation directions can affect fluid distribution and heat transfer performance, so the plates should not be rearranged arbitrarily.
2.4 Avoid Damaging the Plates and Gaskets
Handle the plates carefully during disassembly to prevent bending, impact, or scratches on their metal surfaces. Do not use sharp tools to force the plates apart or remove tightly attached gaskets, as this may damage the gasket grooves. If a gasket is firmly bonded to a plate, use a removal method approved by the manufacturer.
3. How Should the Appropriate Cleaning Method Be Selected?
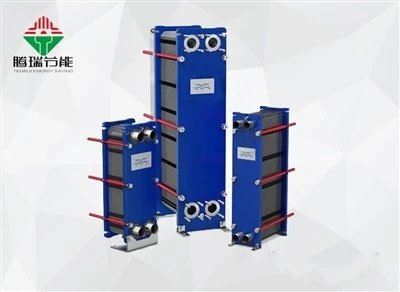
3.1 Choose the Method According to the Degree of Fouling
For light deposits, start with a water rinse or gentle cleaning using a soft brush. For more stubborn scale, oil, or other deposits, select a more effective cleaning method based on the type of contaminant. Assess the degree of fouling before cleaning to avoid using unnecessarily aggressive methods that could damage the plates.
3.2 Consider Appropriate Chemical Cleaning
Chemical cleaning is suitable for certain deposits that cannot be removed effectively by ordinary rinsing, such as specific types of mineral scale. The cleaning agent, concentration, temperature, and contact time must comply with the manufacturer's recommendations and be compatible with the plate and gasket materials. Never mix different chemicals without confirming their compatibility, as some combinations may release toxic gases, cause violent reactions, or create other safety hazards.
3.3 Use Mechanical Cleaning Carefully
For deposits on removable plates, soft brushes and an appropriate low-pressure water stream can be used for cleaning. Avoid steel wire brushes, sandpaper, and other tools that may scratch the plate surfaces. Plate materials are often relatively thin, and excessive scraping may damage their protective surfaces, increasing the risk of corrosion and leakage.
3.4 Use High-Pressure Cleaning with Caution
High-pressure water jets may damage plates, gaskets, or locally weakened areas. Therefore, cleaning effectiveness should not be the only factor considered when selecting the water pressure. Follow the manufacturer's specified pressure limits and operating distance, and avoid directing the water jet at one location for an extended period. If the permitted pressure range is unknown, choose a gentler cleaning method.
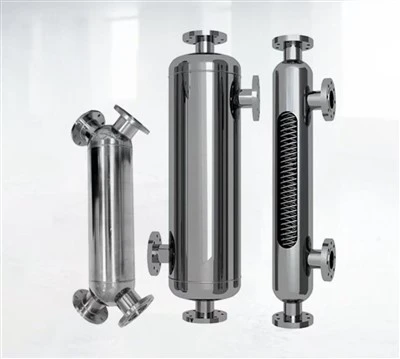
4. What Safety Precautions Should Be Taken During Cleaning?
4.1 Control the Cleaning Conditions Carefully
When using chemical cleaning agents, control the concentration, temperature, and contact time according to the product instructions and the equipment manufacturer's requirements. Excessive concentration or temperature may accelerate plate corrosion or degrade gasket performance. Monitor the cleaning solution during the process and drain it promptly once the specified cleaning conditions have been met.
01
4.2 Prevent Chemical Exposure
Operators should avoid direct contact between cleaning agents and the skin or eyes. Wear the personal protective equipment specified in the relevant Safety Data Sheet (SDS). Clearly mark the cleaning area and restrict access to unauthorized personnel. If a chemical spill occurs, follow the appropriate emergency procedures and do not attempt to neutralize or mix the spilled substance without understanding its chemical properties.
02
4.3 Prevent Mechanical Damage to Plate Surfaces
Use cleaning tools that will not significantly scratch or deform the plates. Corrosion, cracks, deformation, and deep scratches may compromise sealing performance and shorten equipment service life. If significant damage is found, inspect the affected plates and assess whether replacement is necessary rather than continuing to clean them aggressively.
03
4.4 Handle Cleaning Waste Properly
Waste cleaning solutions may contain chemicals, oil, metal ions, or other contaminants. They should not be discharged directly without proper assessment. Collect and dispose of the waste according to its composition, local environmental regulations, and company procedures. Where necessary, use a qualified professional waste disposal service.
04
5. How Should the Plates and Gaskets Be Inspected After Cleaning?
5.1 Inspect the Plate Surfaces
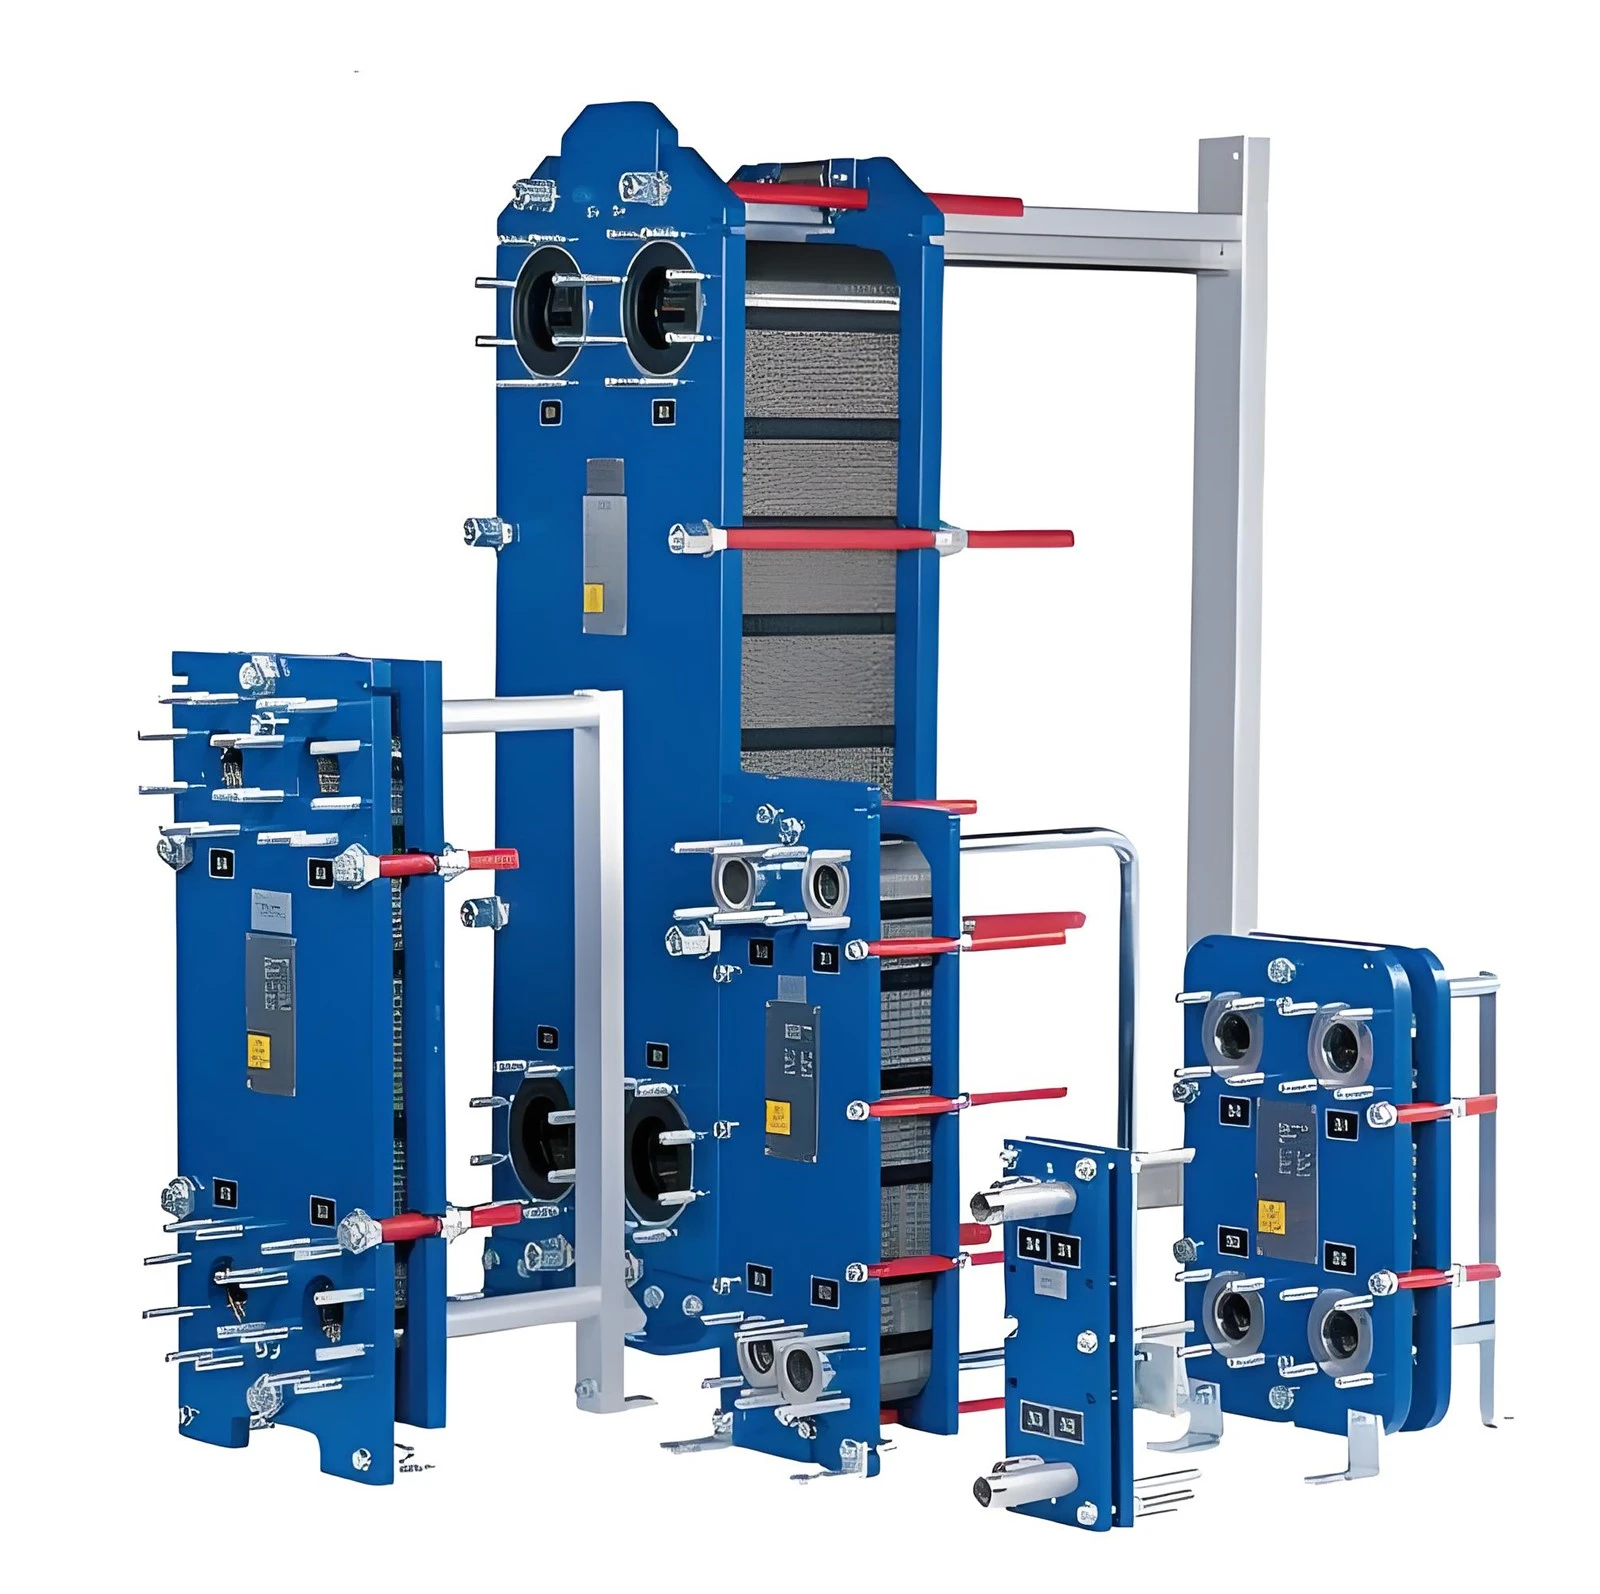
After cleaning, inspect the plates for residual deposits, corrosion, cracks, deformation, and other visible defects. Pay particular attention to plate edges, corrugated areas, and locations where contaminants tend to accumulate. If damage that may affect pressure integrity or sealing performance is discovered, have it assessed by qualified personnel before returning the equipment to service.
5.2 Check the Condition of the Gaskets
Inspect the gaskets for cracks, hardening, swelling, deformation, detachment, and signs of aging. The gasket material must be compatible with the process fluid, operating temperature, and cleaning agent, as incompatible chemicals may accelerate gasket deterioration. Replace any gasket that has lost its elasticity or can no longer provide reliable sealing, in accordance with the manufacturer's recommendations.
5.3 Ensure That the Flow Channels and Gasket Grooves Are Clean
Inspect the plate flow channels, corner ports, and gasket grooves to ensure that no dirt, foreign objects, or cleaning residues remain. Residual contaminants in the flow channels may interfere with fluid distribution and reduce heat transfer efficiency. Foreign material in the gasket grooves may prevent the gaskets from seating correctly and increase the risk of leakage during operation.
5.4 Carry Out Additional Inspections When Necessary
If the equipment has previously experienced leakage, abnormal pressure drop, or severe corrosion, further inspection may be required. Depending on the equipment design and the manufacturer's recommendations, suitable leak tests, nondestructive testing, or other assessment methods may be used. The inspection results should be used to determine whether the plates are fit for continued service.
6. How Should a Gasketed Plate Heat Exchanger Be Reassembled Correctly?
6.1 Reinstall the Plates in the Original Sequence
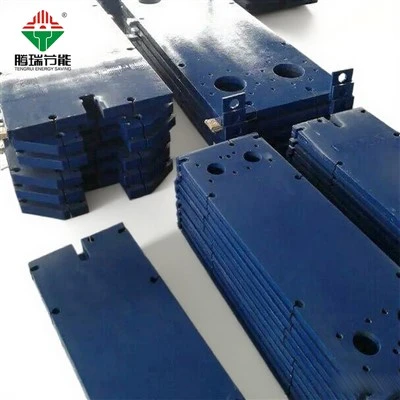
Reassemble the plates according to the recorded sequence, plate identification numbers, and manufacturer's drawings. During installation, confirm that the plate orientation, flow channel arrangement, and gasket positions are correct. Incorrect plate arrangement may cause uneven fluid distribution, reduced heat transfer performance, or even internal cross-leakage between the two fluid circuits.
01
6.2 Ensure That the Gaskets Are Properly Seated
Before reinstallation, check that the gaskets are clean and undamaged and that they fit correctly into their grooves. For models requiring bonded gaskets or specialized sealing arrangements, follow the manufacturer's installation instructions carefully. Do not apply lubricants, adhesives, or sealing compounds arbitrarily, as these substances may affect gasket compatibility and reliability.
02
6.3 Tighten the Heat Exchanger Evenly
Gradually tighten the frame bolts in the specified sequence so that the pressure plate moves evenly. Measure the tightening dimension throughout the process to avoid over-tightening or insufficient compression. Follow the manufacturer's technical documentation for the required dimension and tightening procedure, as the requirements vary between models.
03
6.4 Check the Piping Connections and Auxiliary Components
After reassembly, confirm that the inlet and outlet piping, vent ports, drain ports, and associated connections are installed correctly. Inspect the flanges, bolts, and other connection points to ensure that no tools or foreign objects have been left inside the equipment. Before restarting the system, verify that the valve positions and system configuration meet the operating requirements.
04
7. How Can the Equipment Be Safely Started and Tested After Cleaning?
7.1 Perform the Required Sealing Checks
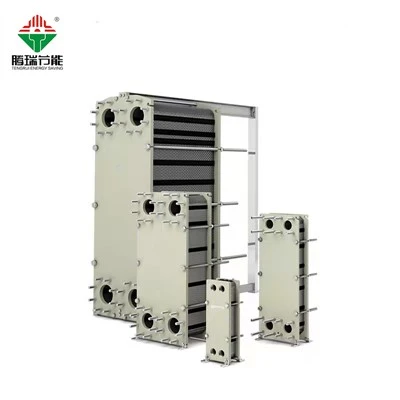
Before startup, carry out appropriate leakage checks or pressure tests in accordance with the manufacturer's requirements and site procedures. The test medium, pressure, duration, and method must comply with the equipment's design specifications, and the allowable pressure must never be exceeded. If leakage is detected, stop the test and follow the relevant safety procedures. Never tighten bolts while the equipment is pressurized.
7.2 Restore the System to Operation Gradually
During startup, open the relevant valves gradually according to the operating procedures to avoid sudden pressure changes or excessive pressure surges. Where necessary, vent trapped air in accordance with the prescribed procedure, as accumulated air may affect heat transfer and fluid distribution. Follow the manufacturer's specified startup sequence and requirements for increasing temperature and pressure on both the hot and cold sides.
7.3 Monitor Operating Parameters
After startup, monitor the inlet and outlet temperatures, flow rates, operating pressures, and pressure drop to ensure that they remain within the expected ranges. Compare the post-cleaning data with the pre-cleaning measurements and the design operating conditions to evaluate the cleaning results. If abnormal pressure drop, temperature deviations, insufficient flow, or leakage occurs, inspect the system and identify the cause promptly.
7.4 Maintain Cleaning and Maintenance Records
Record the cleaning date, type of fouling, cleaning method, cleaning agents used, and relevant operating parameters. Document any plate damage, gasket replacement, and leakage issues identified during the process. These records help optimize future cleaning intervals and reduce the risk of unplanned downtime.
8. How Can Fouling Be Reduced and the Service Life of a Plate Heat Exchanger Extended?
8.1 Establish a Suitable Cleaning Schedule
The cleaning frequency should be determined by considering fluid cleanliness, operating temperature, flow velocity, fouling tendency, and equipment performance data. For systems that are prone to scaling or contain significant amounts of suspended particles, increase monitoring frequency and shorten inspection intervals when necessary. A fixed cleaning schedule should not replace an assessment of the actual equipment condition.
01
8.2 Improve Fluid Pretreatment
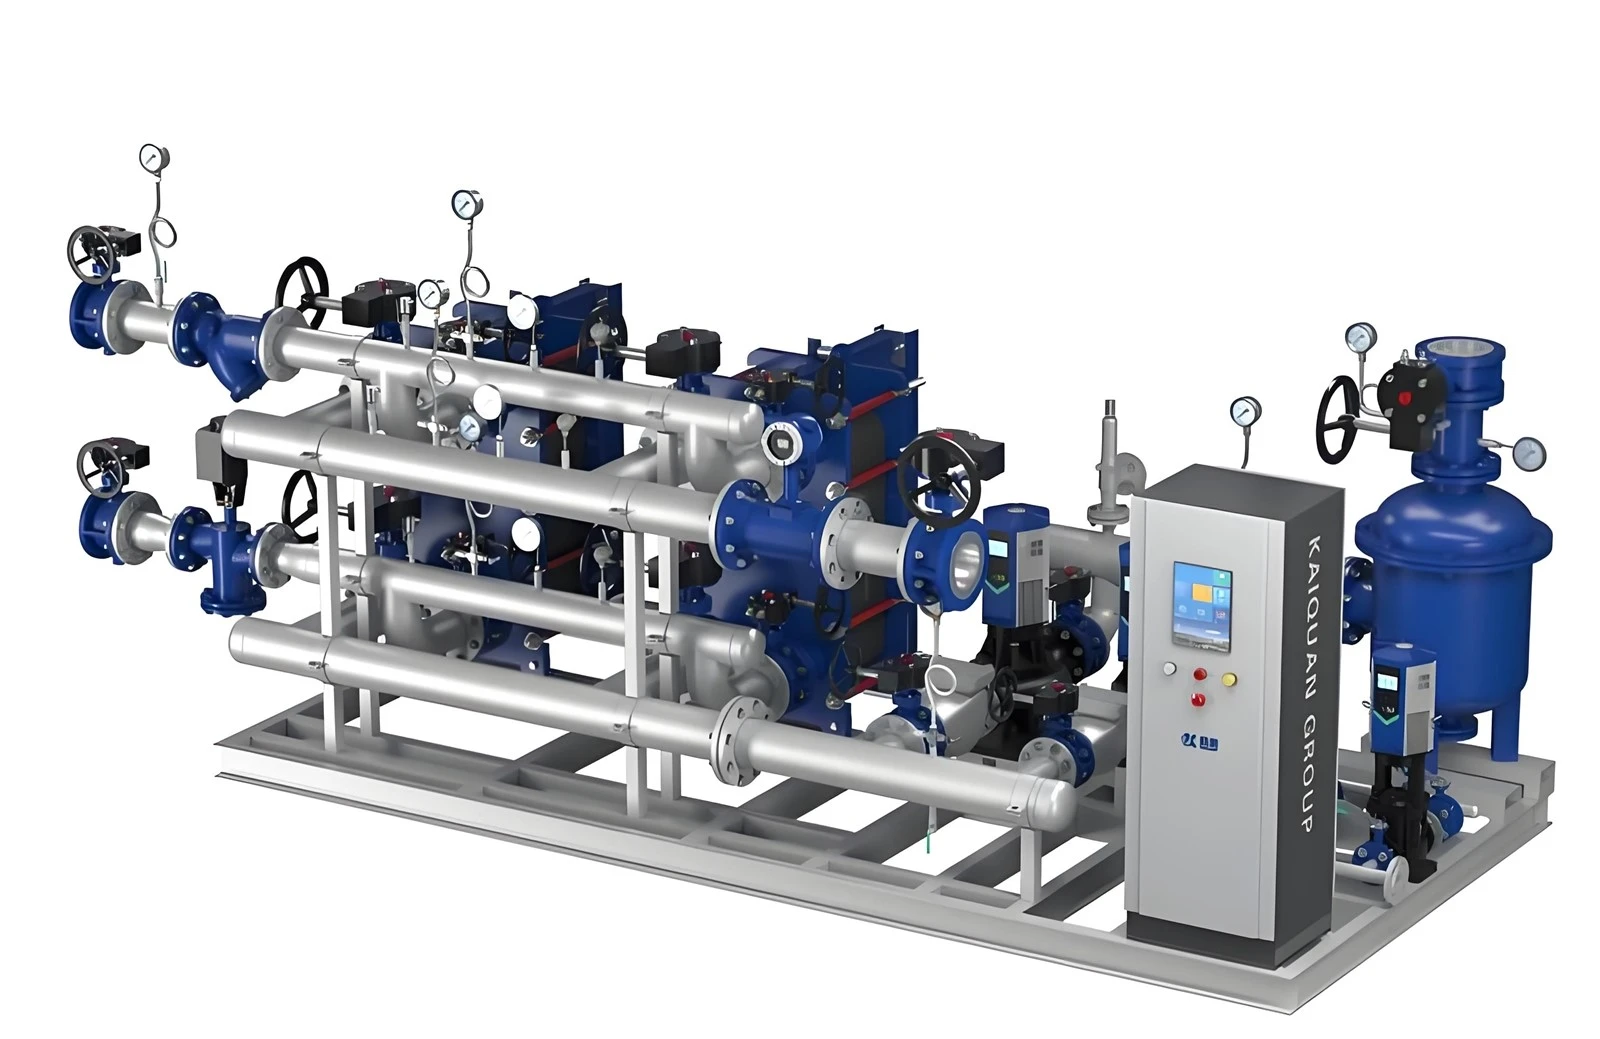
Depending on the process fluid, suitable filters or other pretreatment measures can be installed to reduce the amount of particulate matter entering the flow channels. In water systems prone to scaling, appropriate water quality management can help reduce scale formation. Pretreatment methods should be selected according to fluid properties, process requirements, and equipment design conditions.
02
8.3 Maintain Appropriate Operating Conditions
Operate the heat exchanger within its specified flow, temperature, and pressure limits, and avoid prolonged operation outside the design conditions. Insufficient flow may increase the risk of deposit accumulation under certain operating conditions, while excessive flow velocity may cause excessive pressure drop or intensify localized erosion. Operating parameters should be controlled according to actual process requirements.
03
8.4 Inspect Equipment Performance Regularly
Monitor heat transfer performance, pressure drop, outlet temperatures, and leakage to identify changes promptly. If heat transfer capacity decreases or the pressure drop increases abnormally, investigate the cause before deciding whether cleaning, maintenance, or operating adjustments are required. Proper maintenance can reduce unnecessary disassembly and cleaning while extending the service life of the plates and gaskets.
04
If you want to know more about heat exchanger units or are interested in purchasing, please send an email to 9988xiaoshuai@gmail.com, we will reply you in time after seeing the message!
Professional team
Our company is equipped with a high-quality after-sales service team with technical personnel as the core, and will provide timely feedback upon receiving service information notifications from users.
7x24 hours delivery
Our company provides free technical support for the products we sell and organizes technical training for relevant personnel.